LIP30 Day 3
Yesterday, we set up created a new page with a new document.
Now, let’s see how we can publish it online and make it publicly accessible.
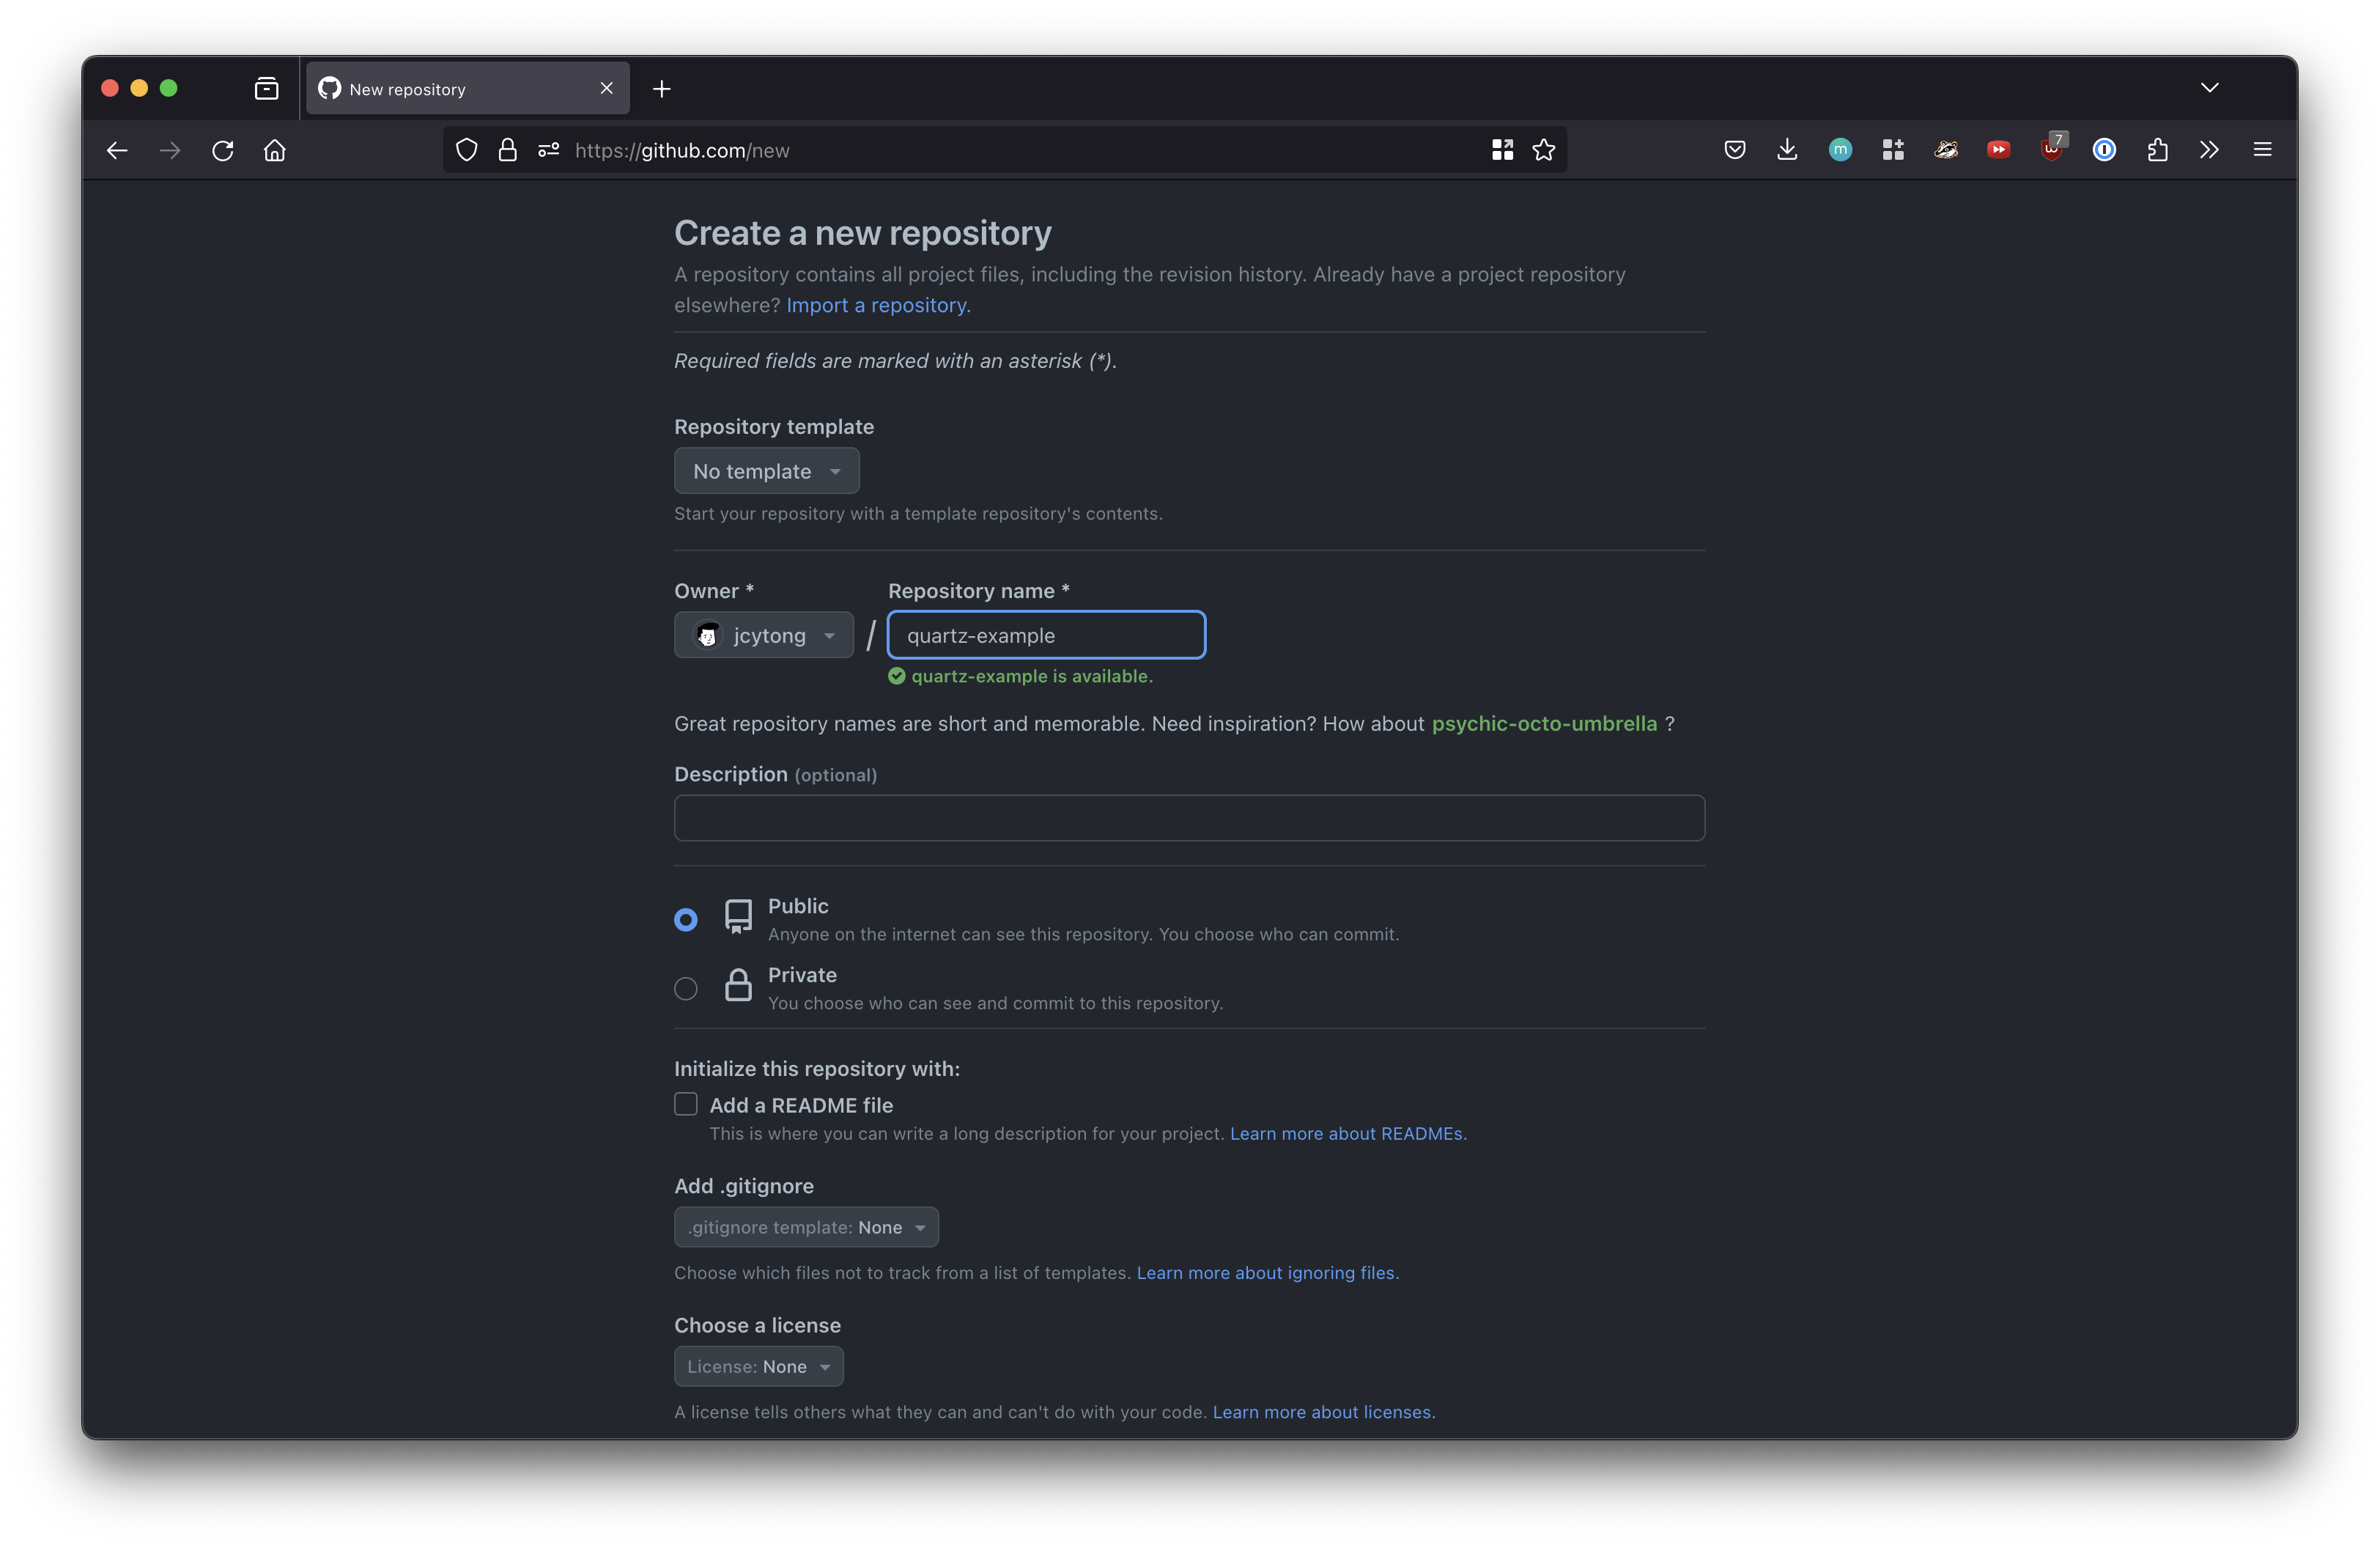
Creating a GitHub Repo
We first need to create a repo on GitHub and make it public (since the pages are going to be made publicly accessible).
 We can then add the newly created GitHub repo as a remote.
git remote set-url origin git@github.com:jcytong/quartz-example.git
git push -u origin v4
Note: Quartz uses the branch name v4 for its commands so we are going away from the traditional master or main branch names
Now that the site is on GitHub, we can connect up Cloudflare.
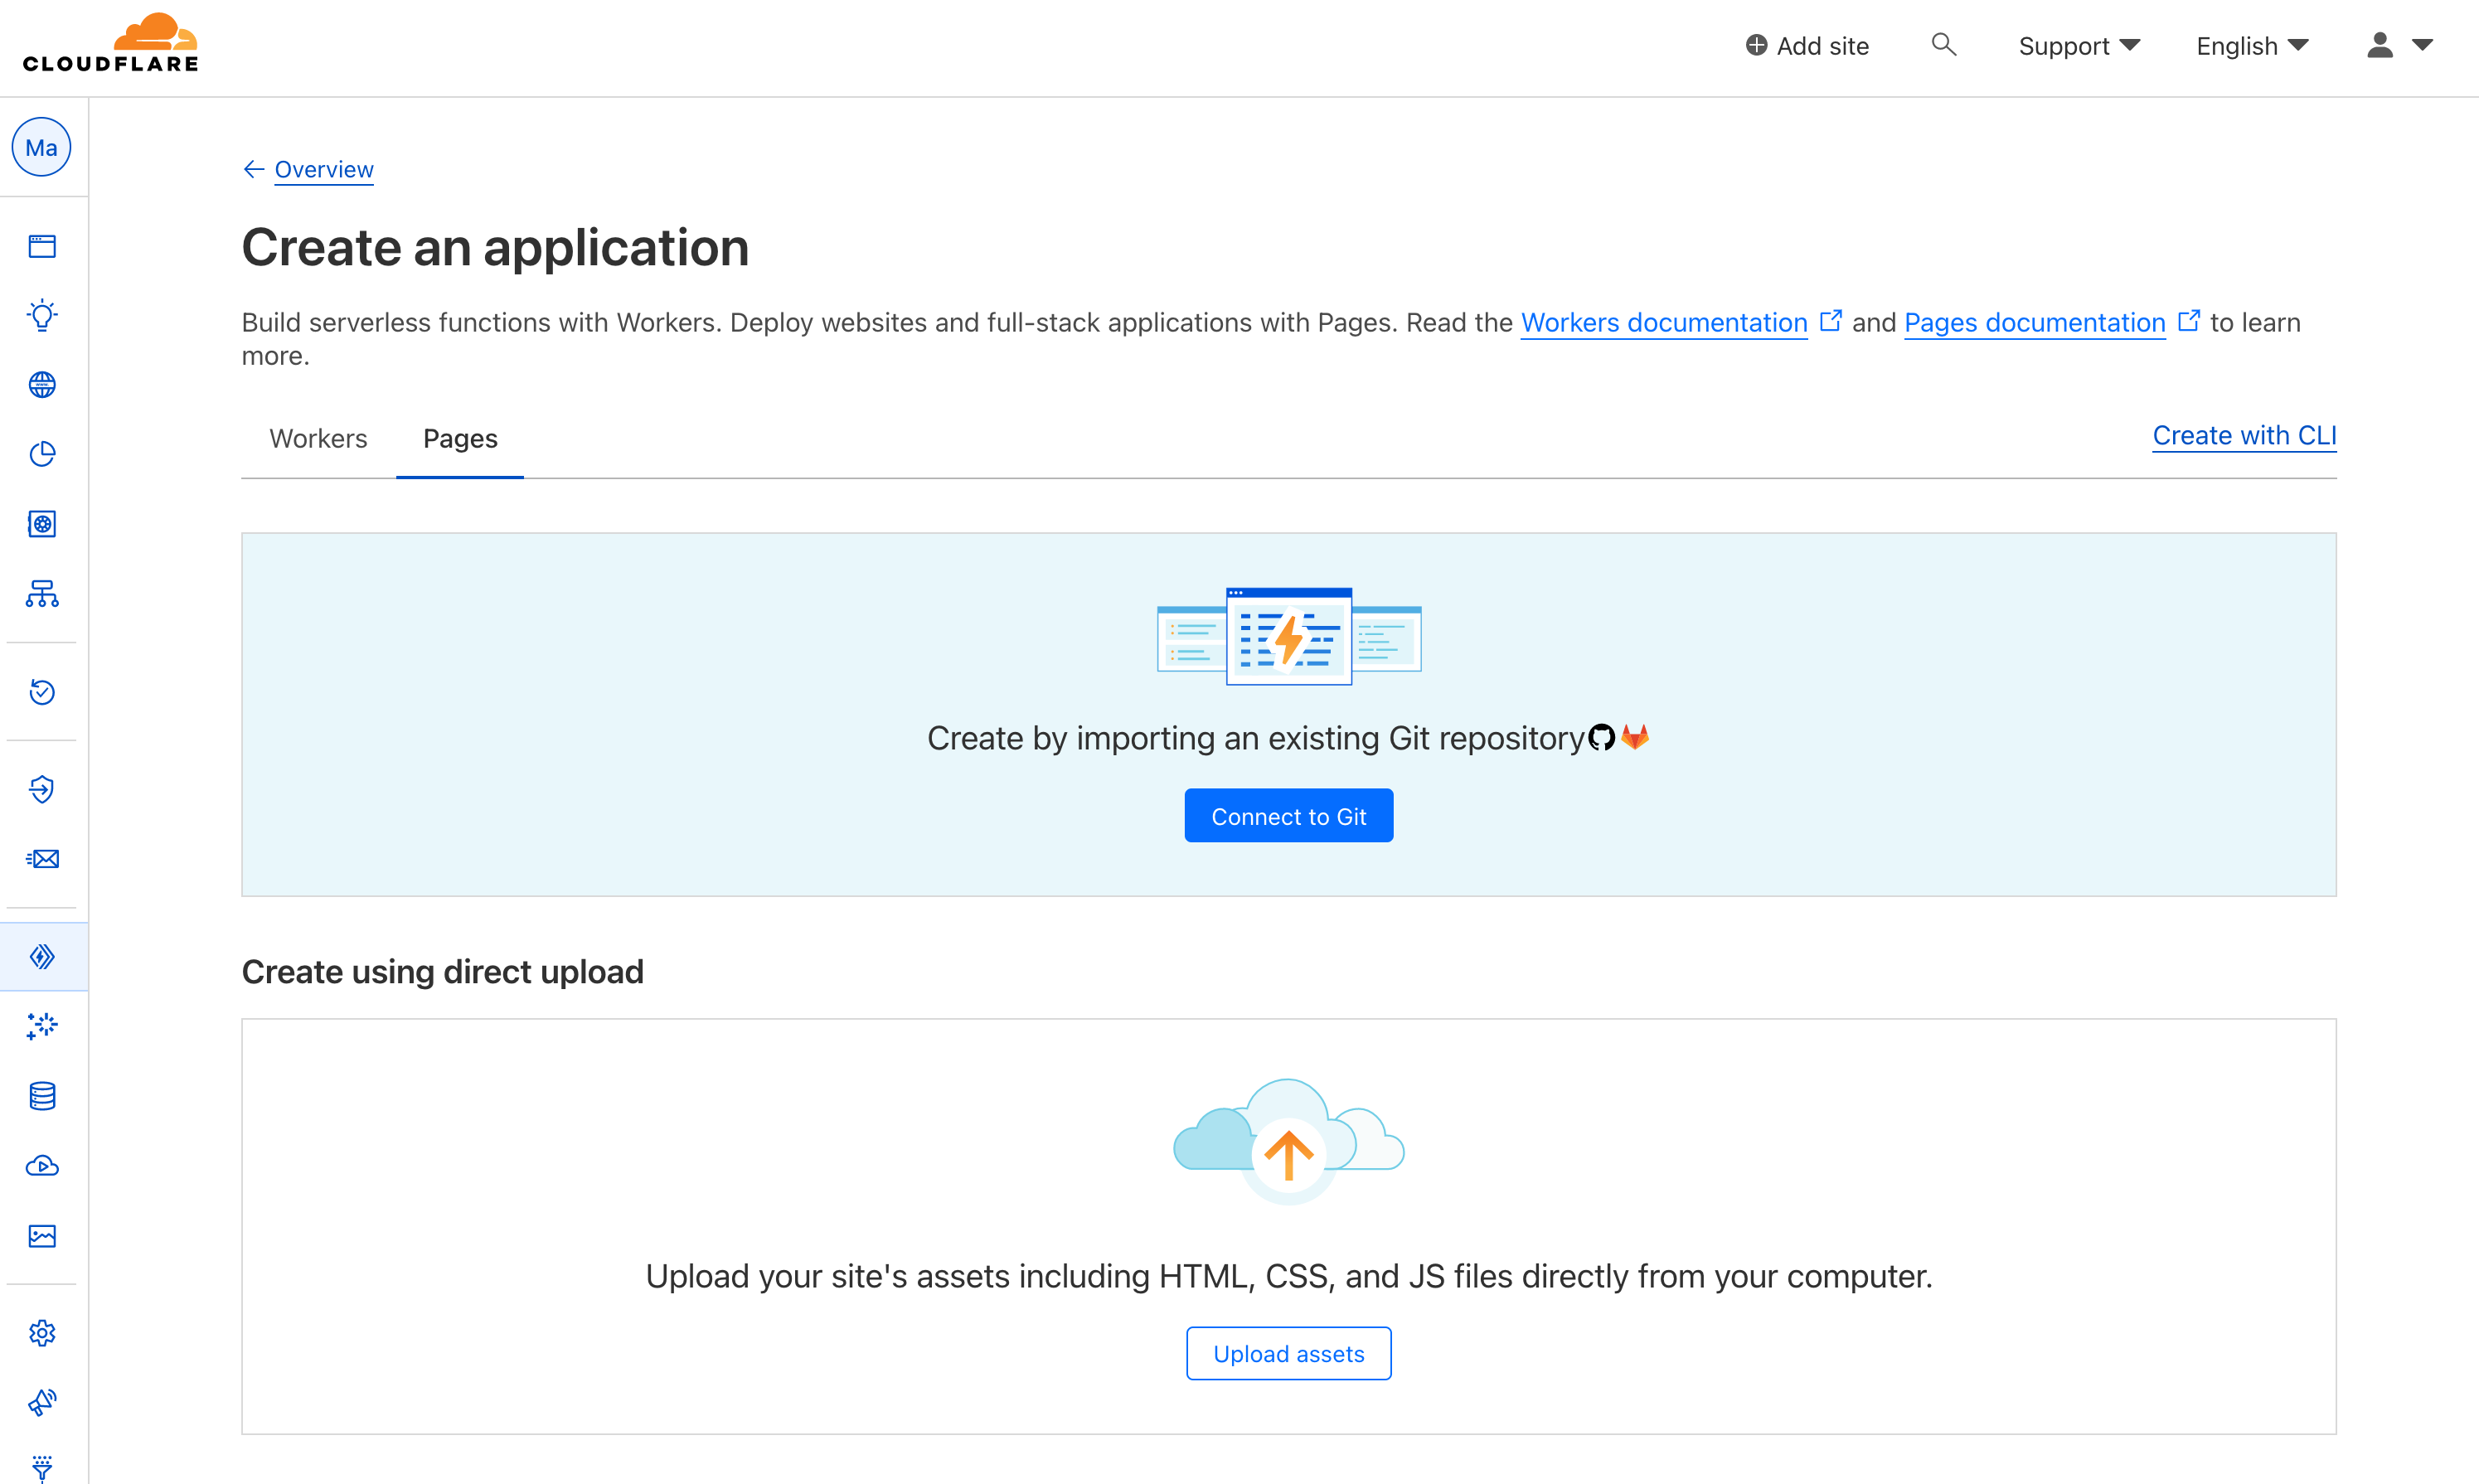
Deploying to Cloudflare
We will be using Cloudflare Pages. Cloudflare Pages is a JAMstack platform that makes it easy to deploy static pages to their global edge network.
After logging into Cloudflare, head to Workers & Pages and “Create application”.
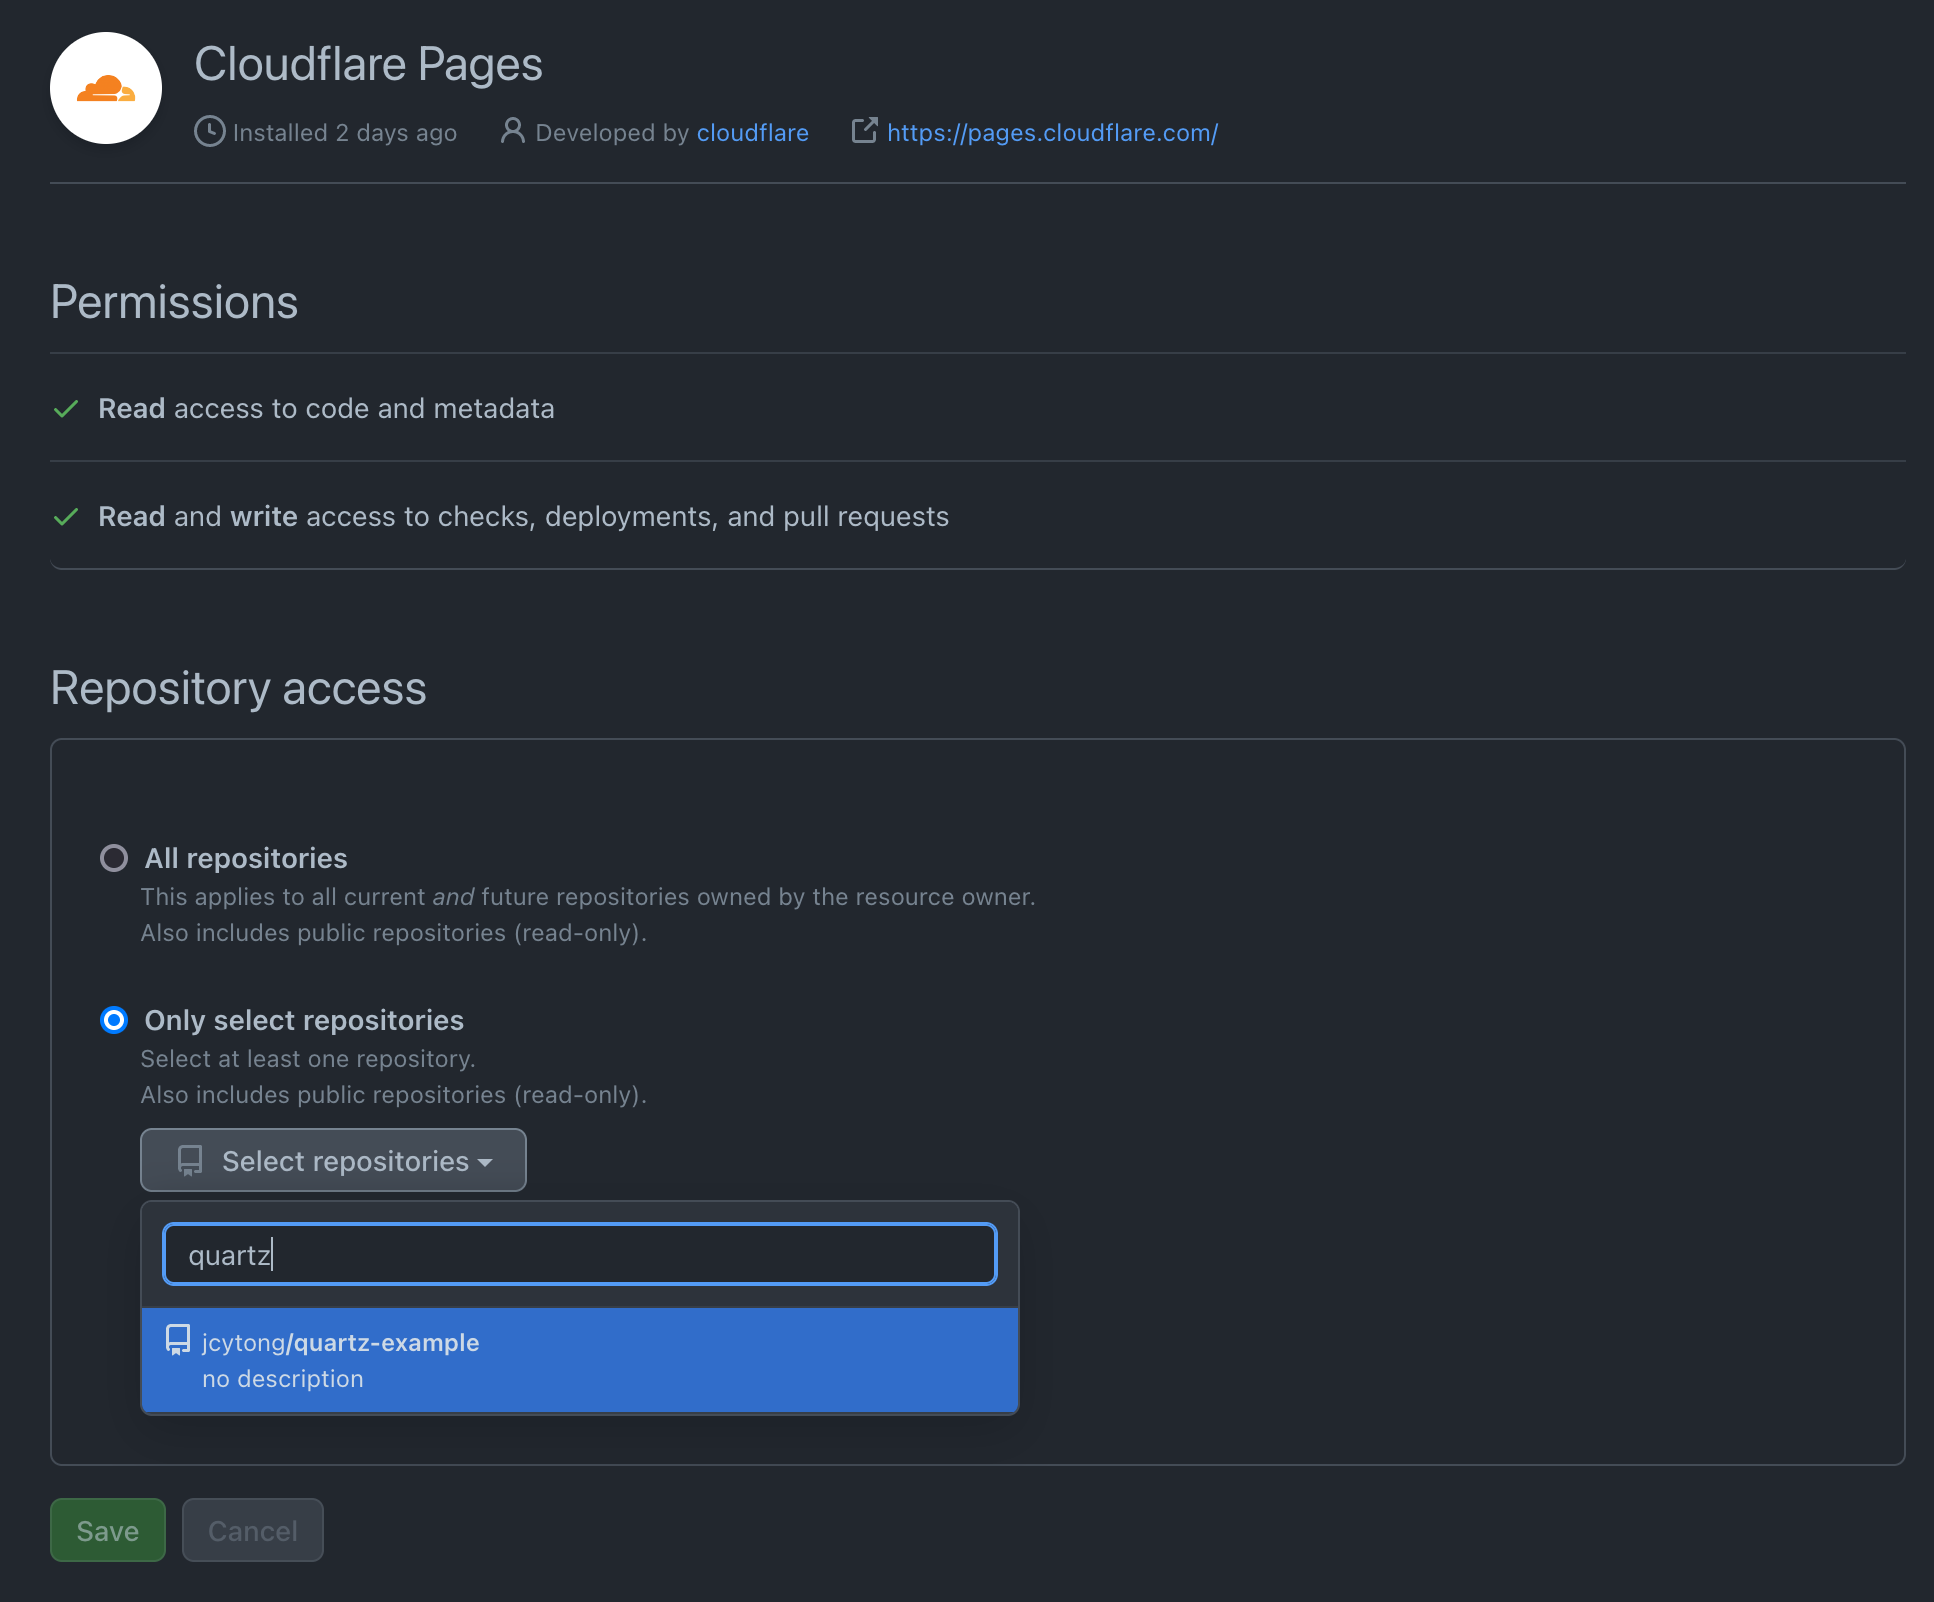
Granting repo access to Cloudflare
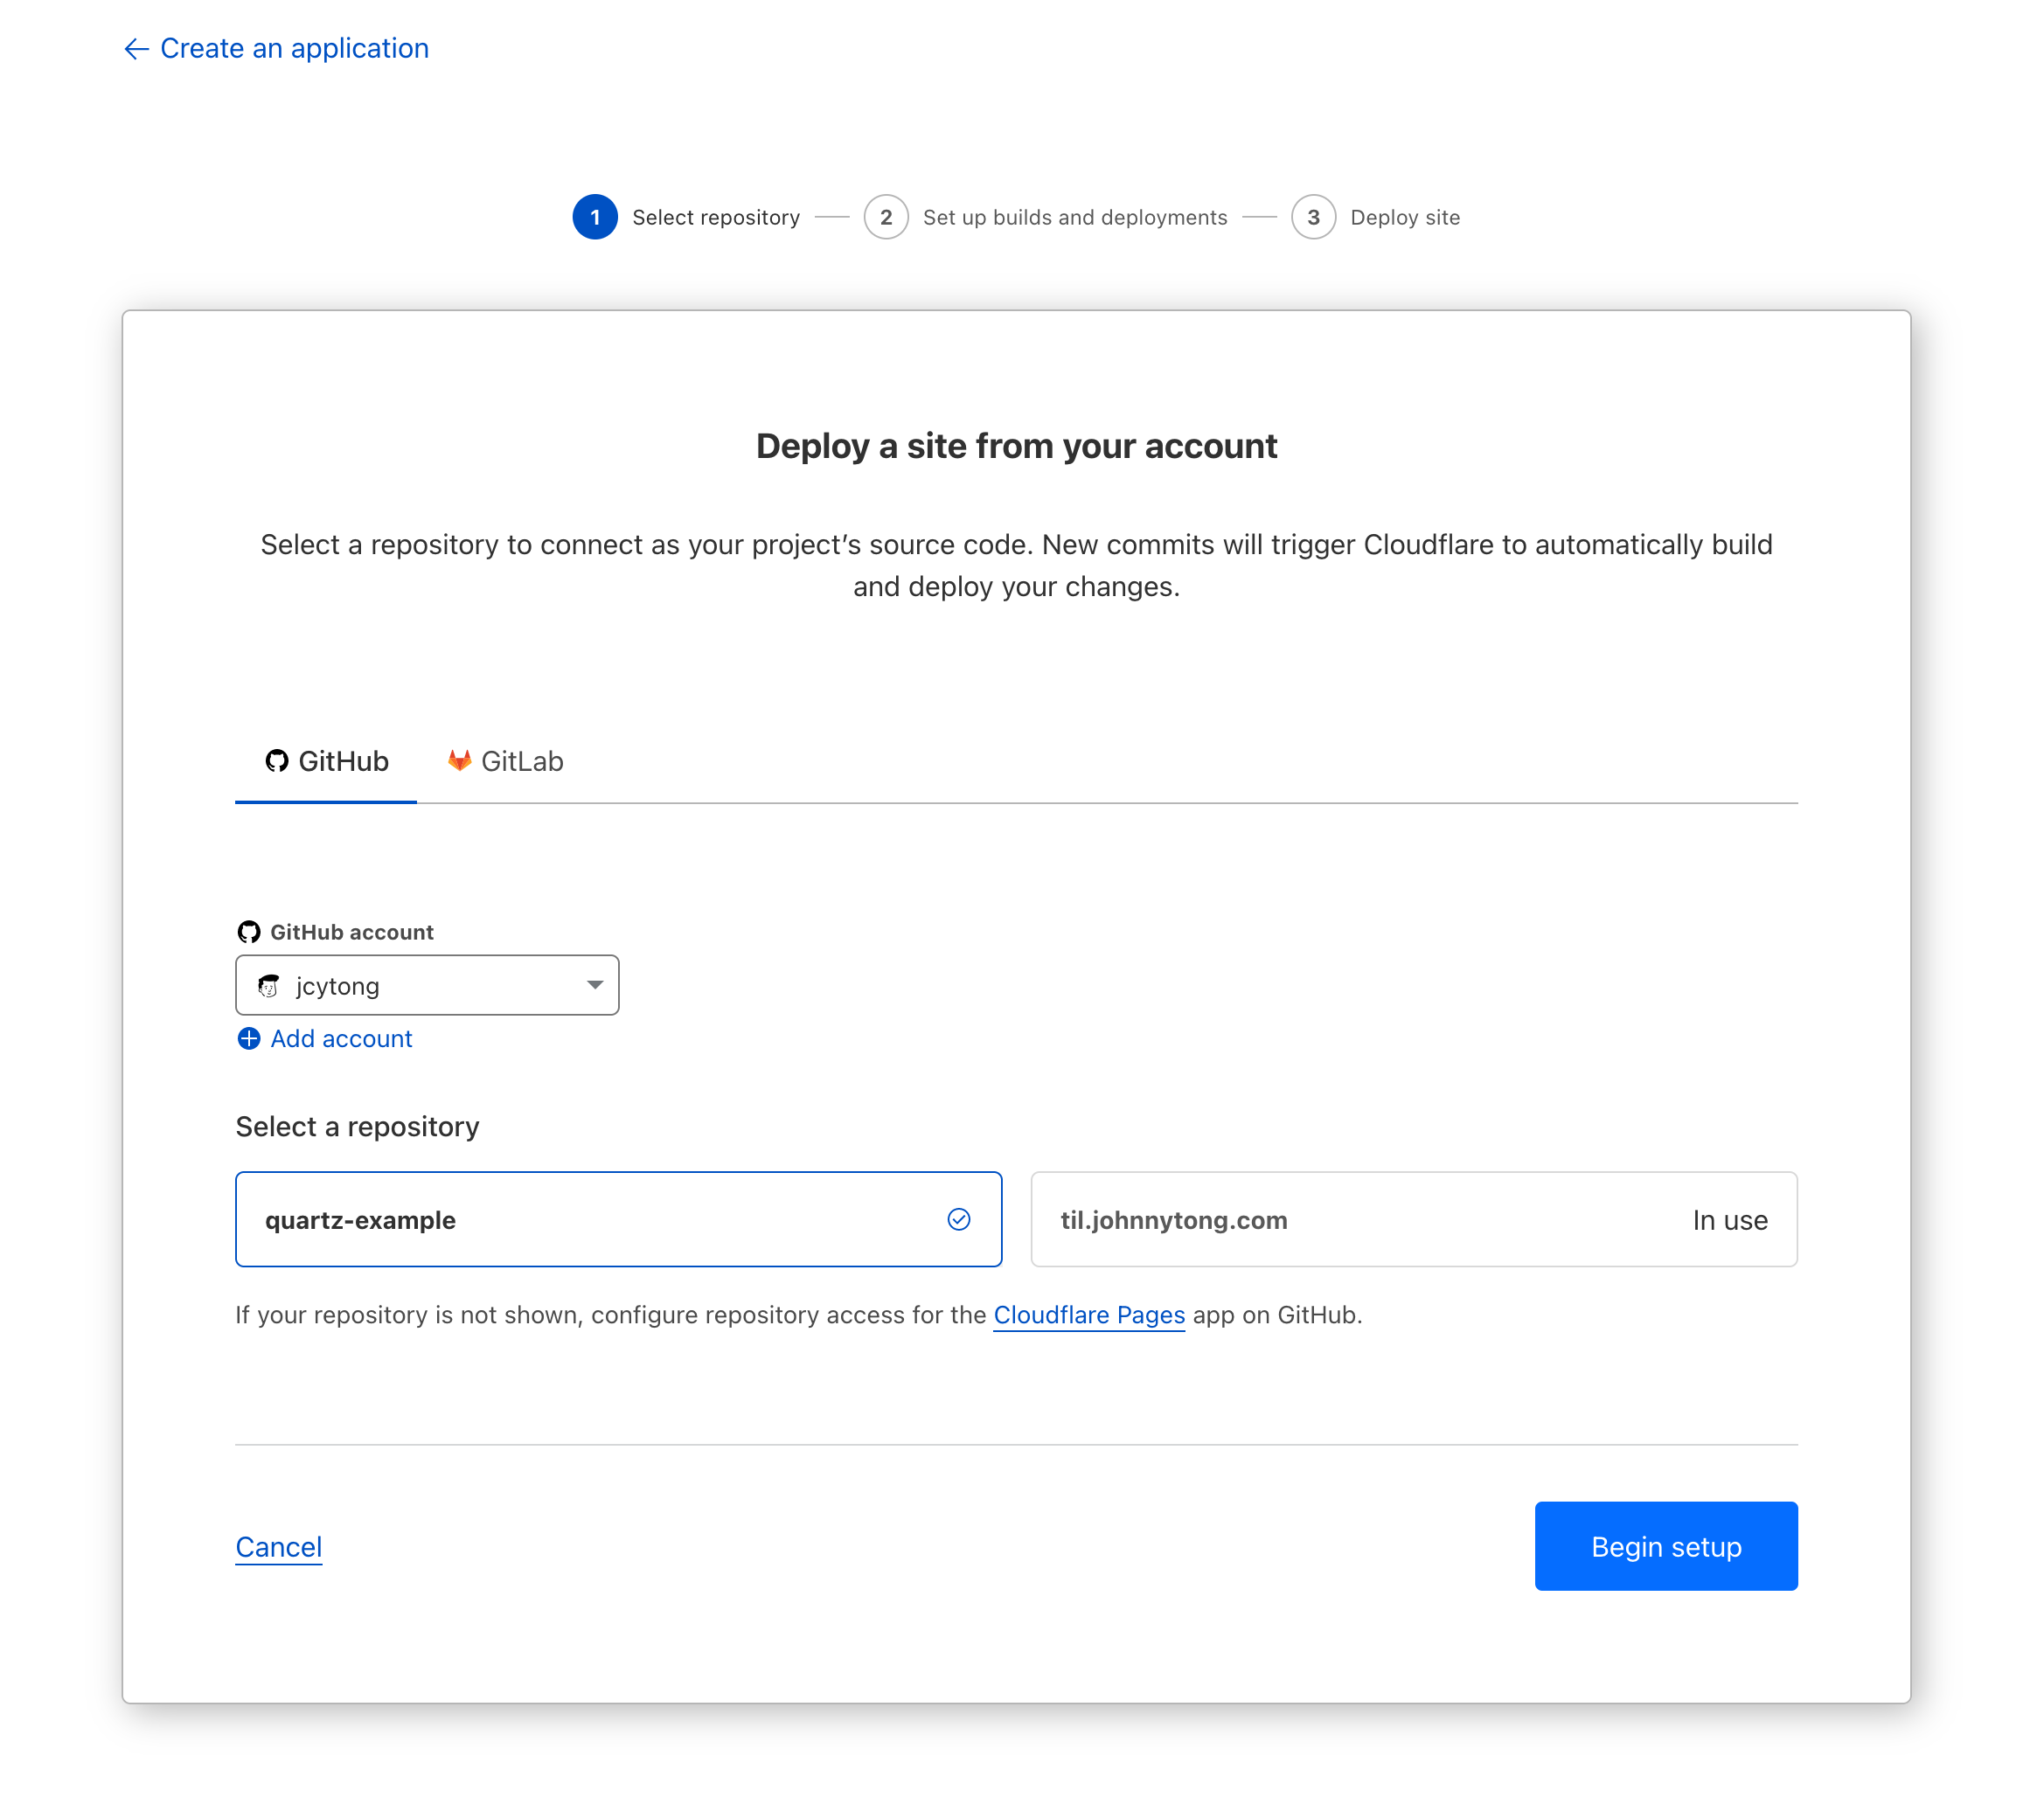
Select the Pages tab, then Connect to Git
After granting Cloudflare access to the GitHub repo,
Setting up build and deployment
Set up the build step with these parameters
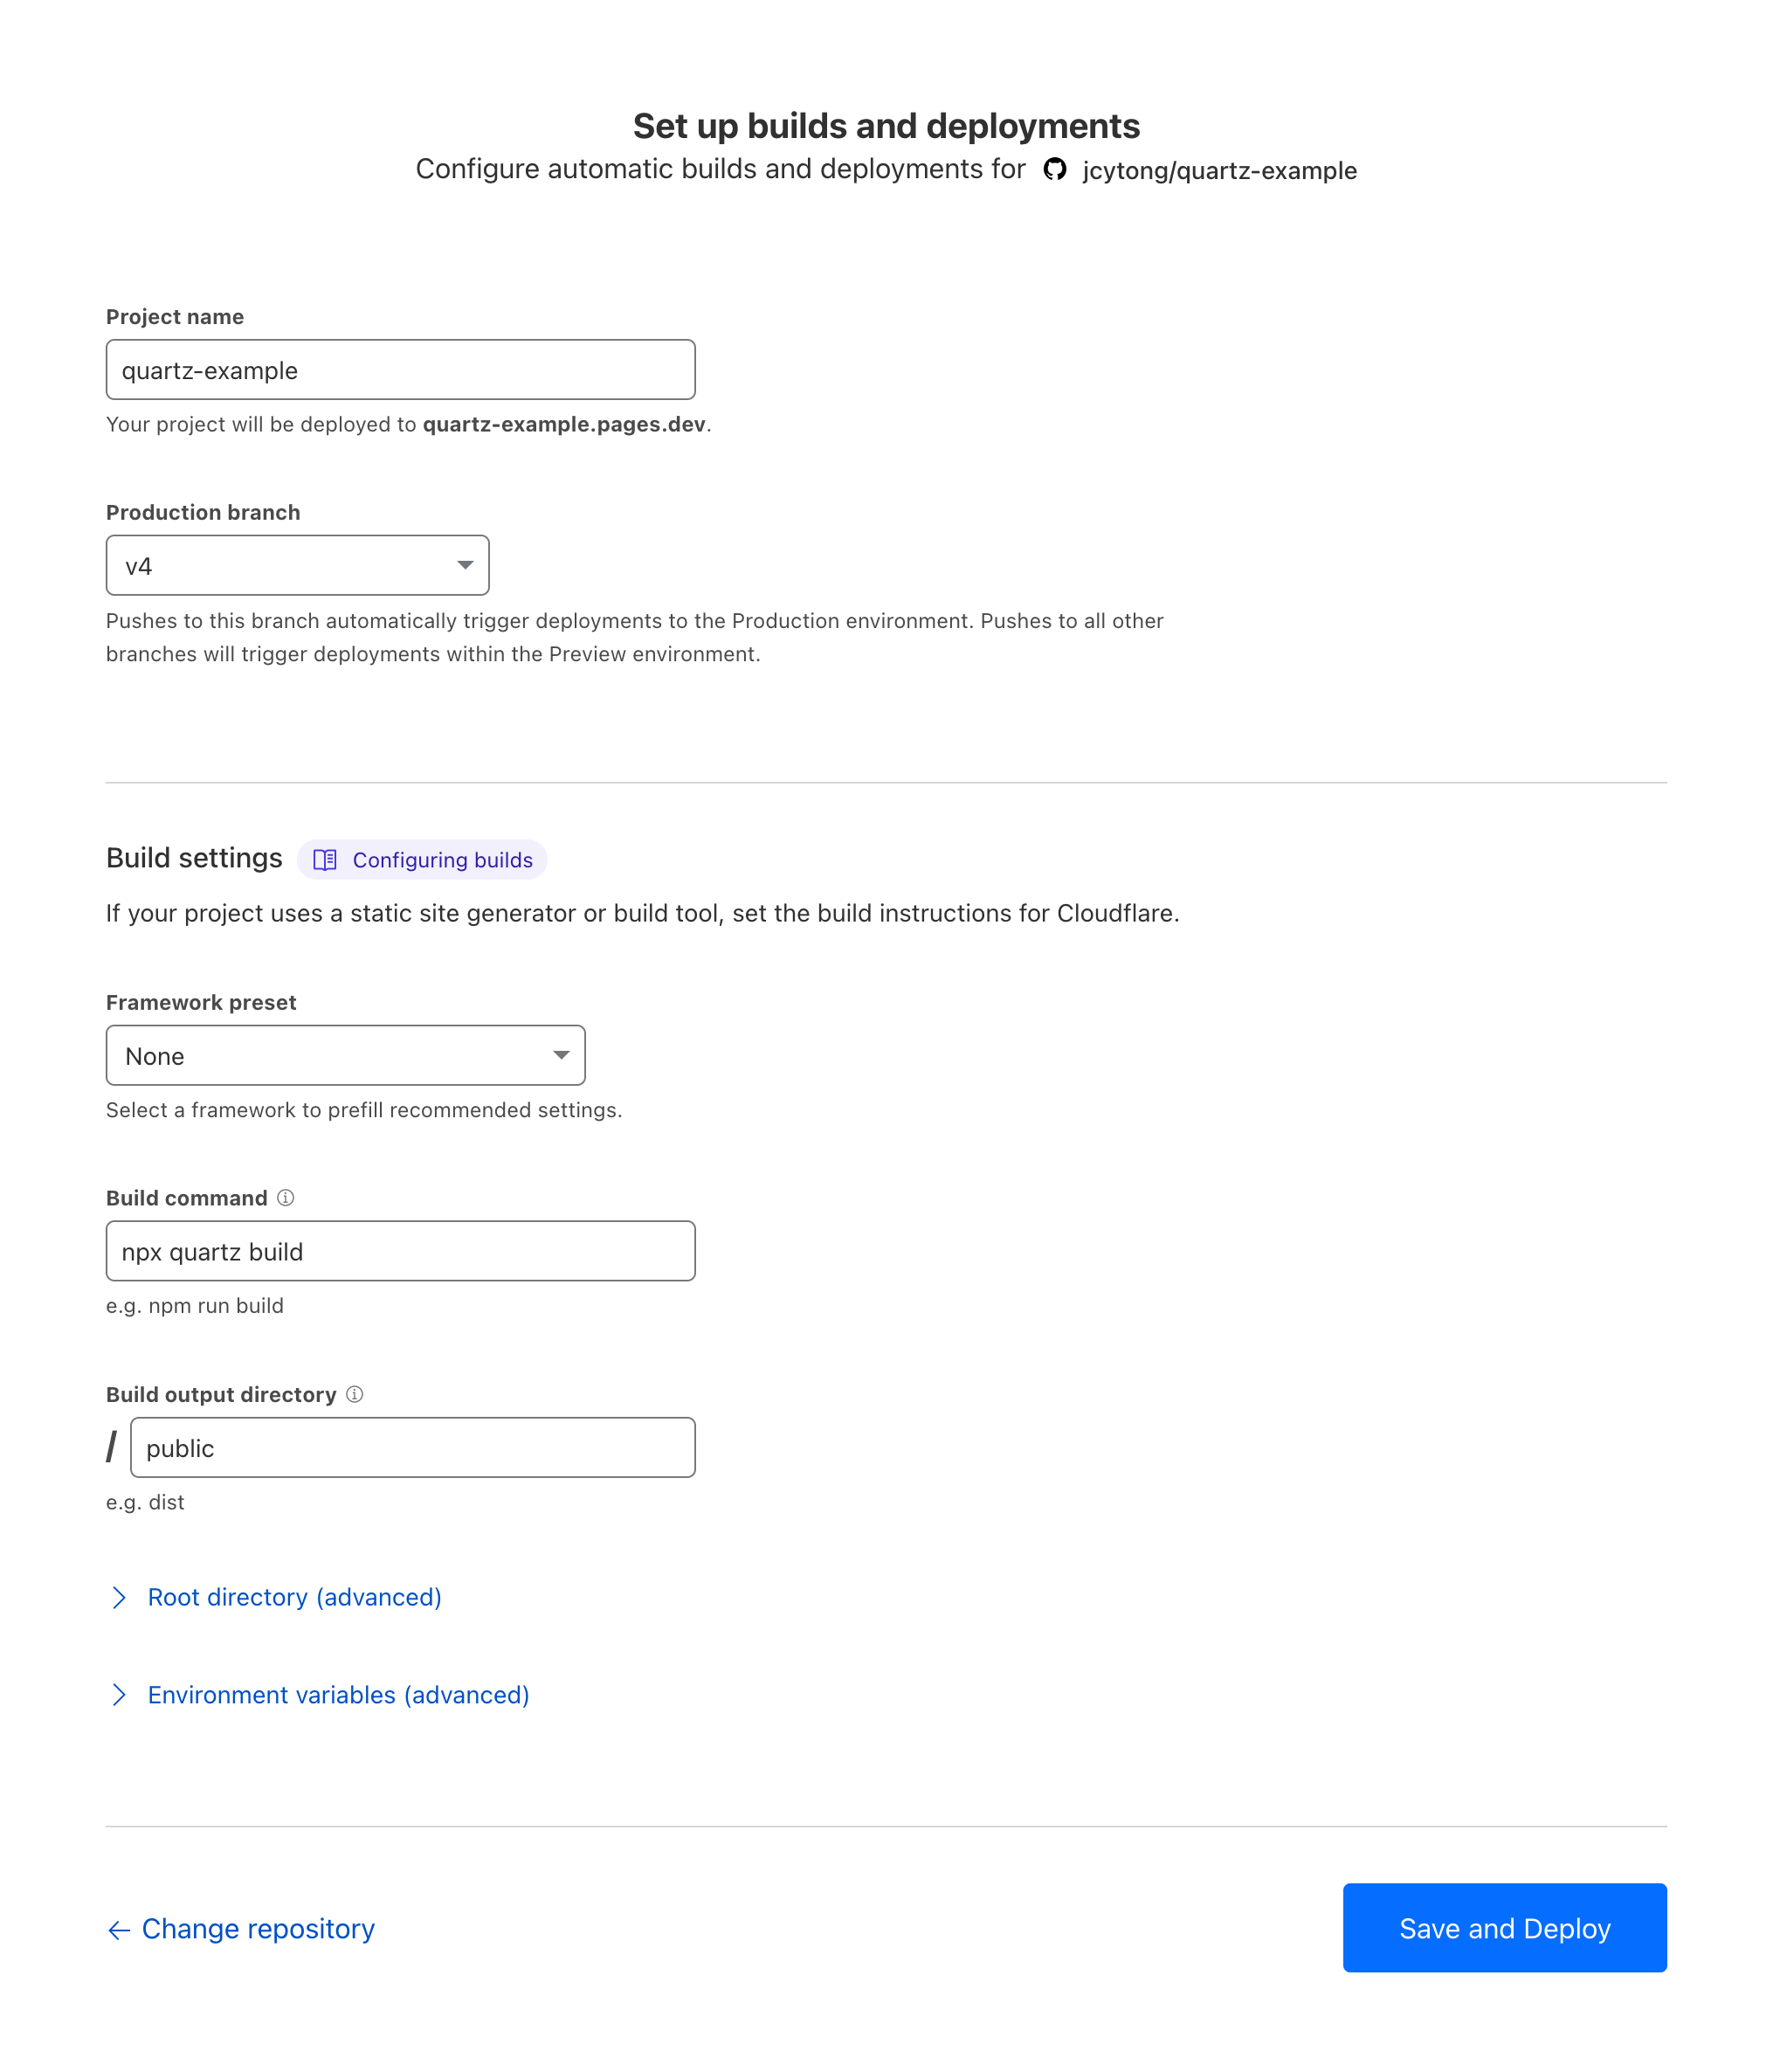
| Production branch | v4 |
|---|---|
| Framework preset | None |
| Build command | npx quartz build |
| Build output directory | public |
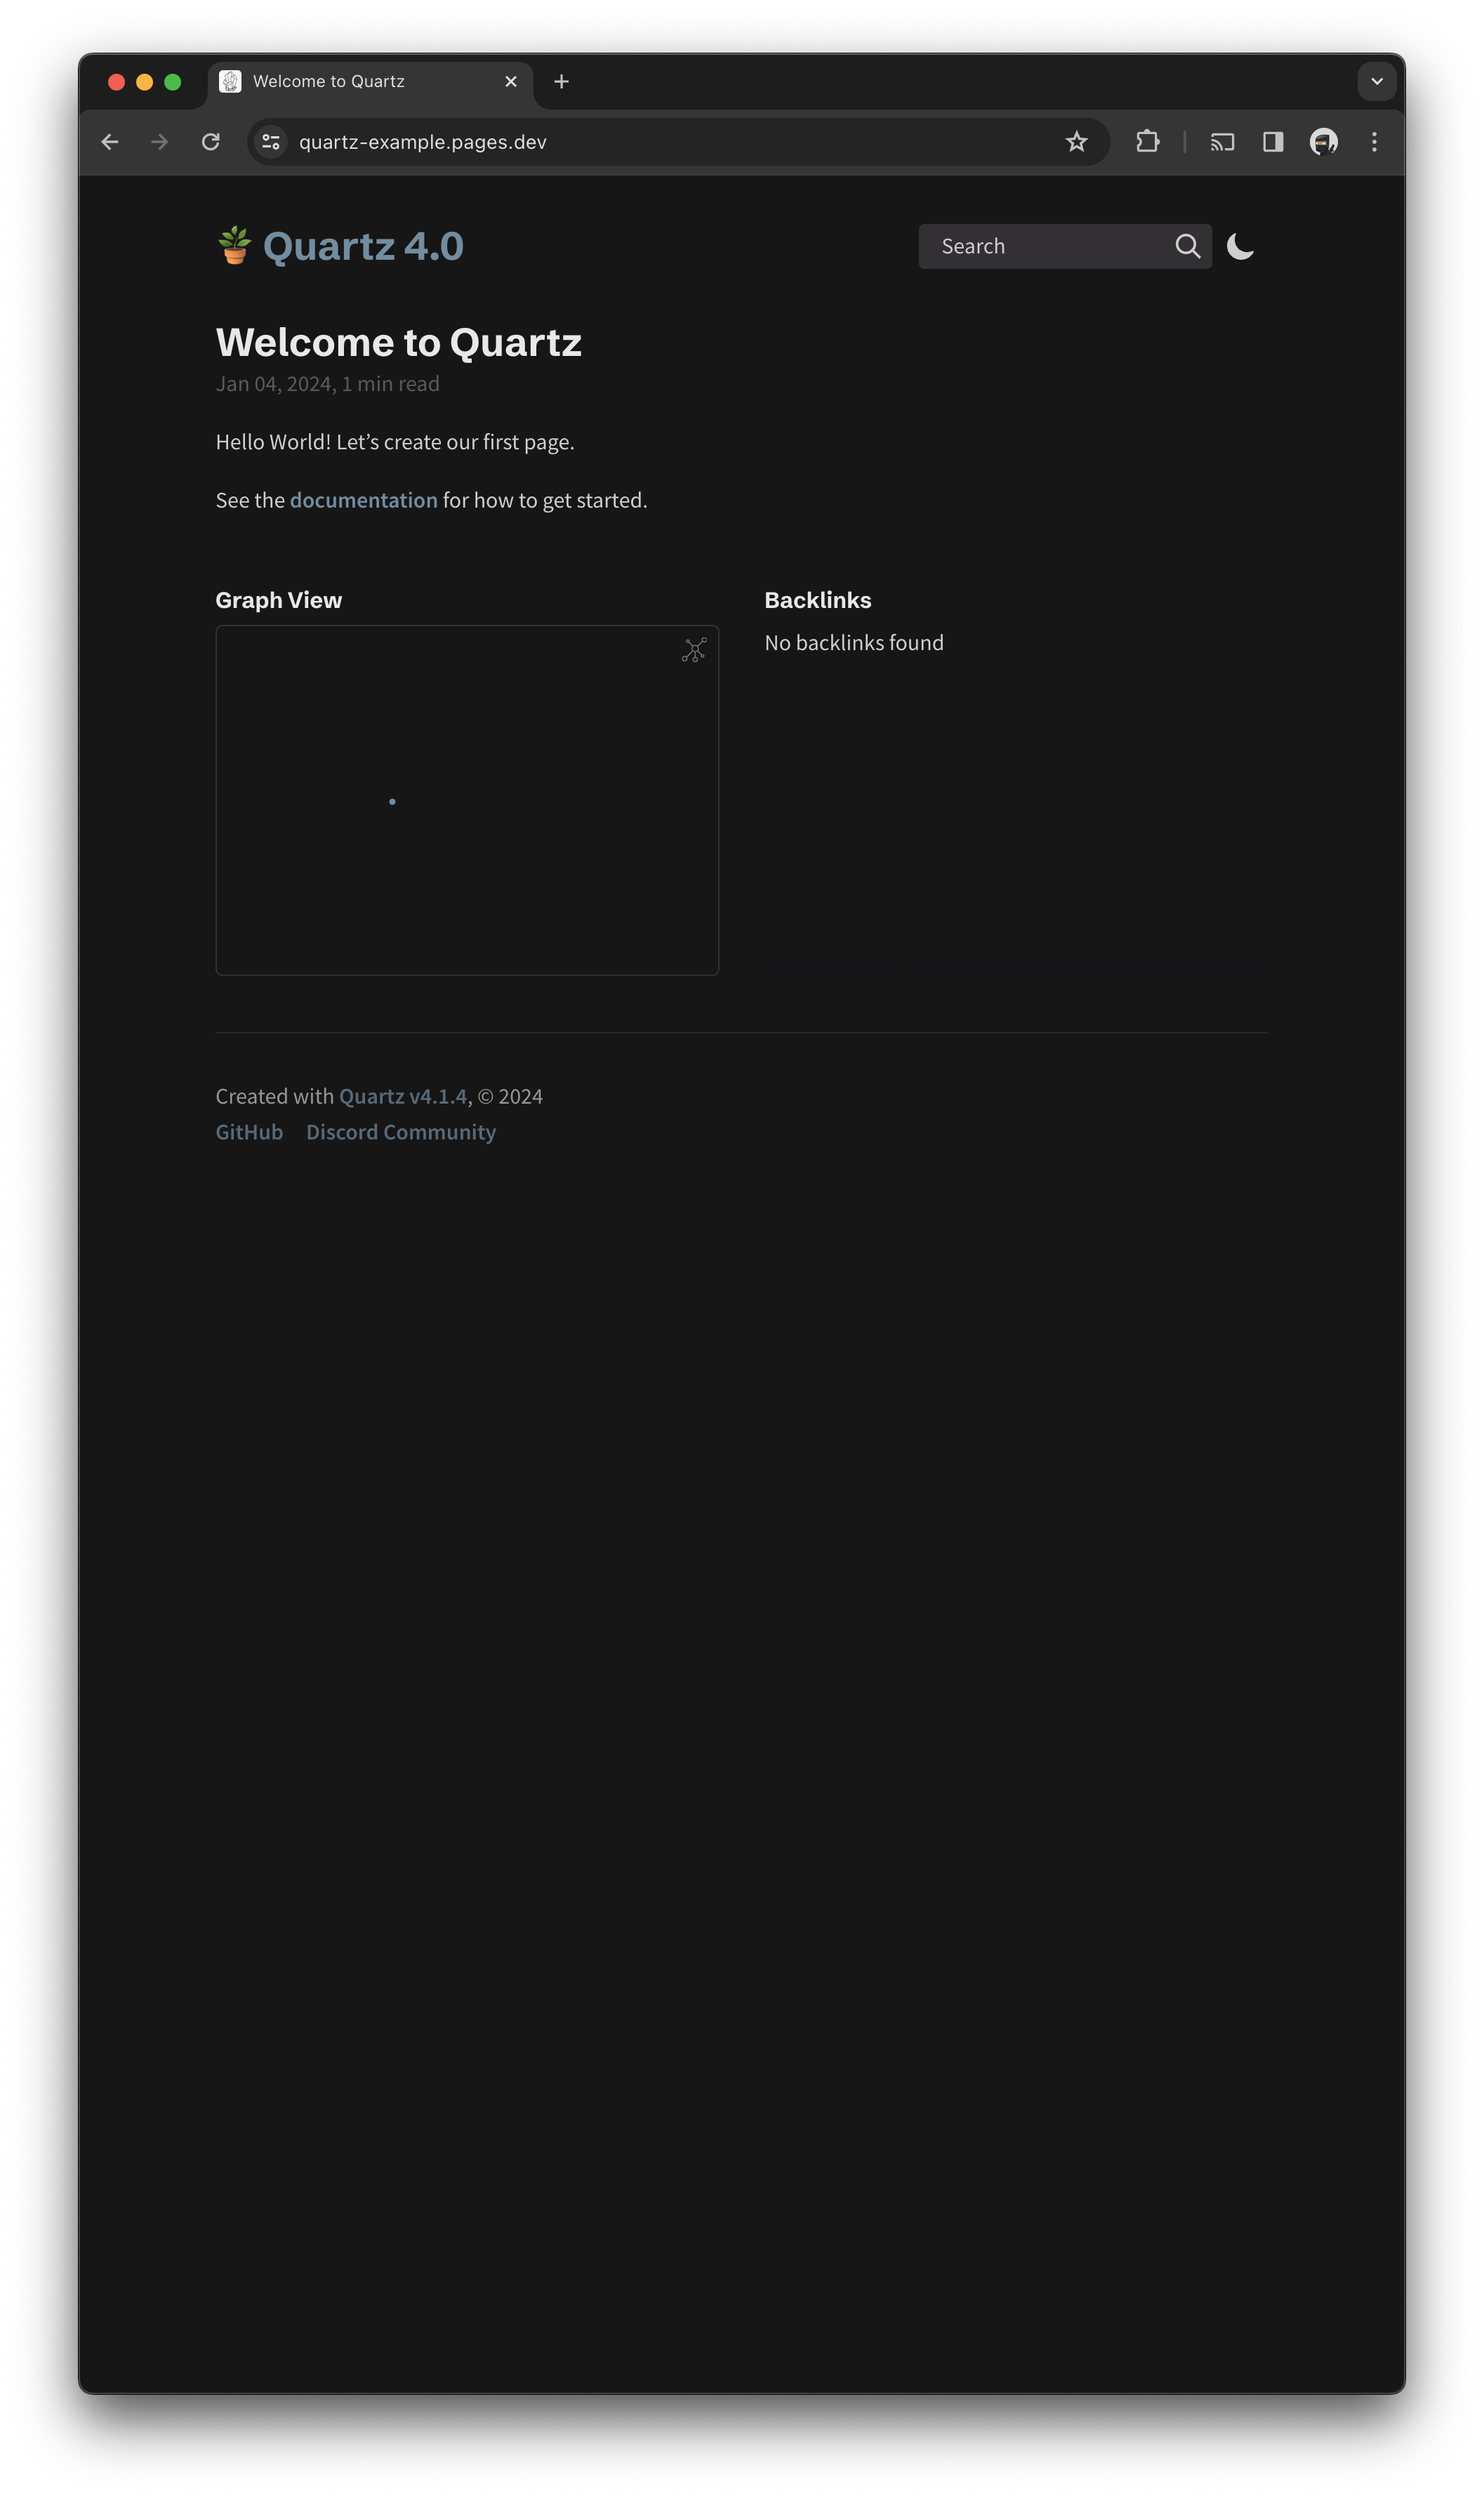
After a short build cycle, the site should be live with a pages.dev domain! |
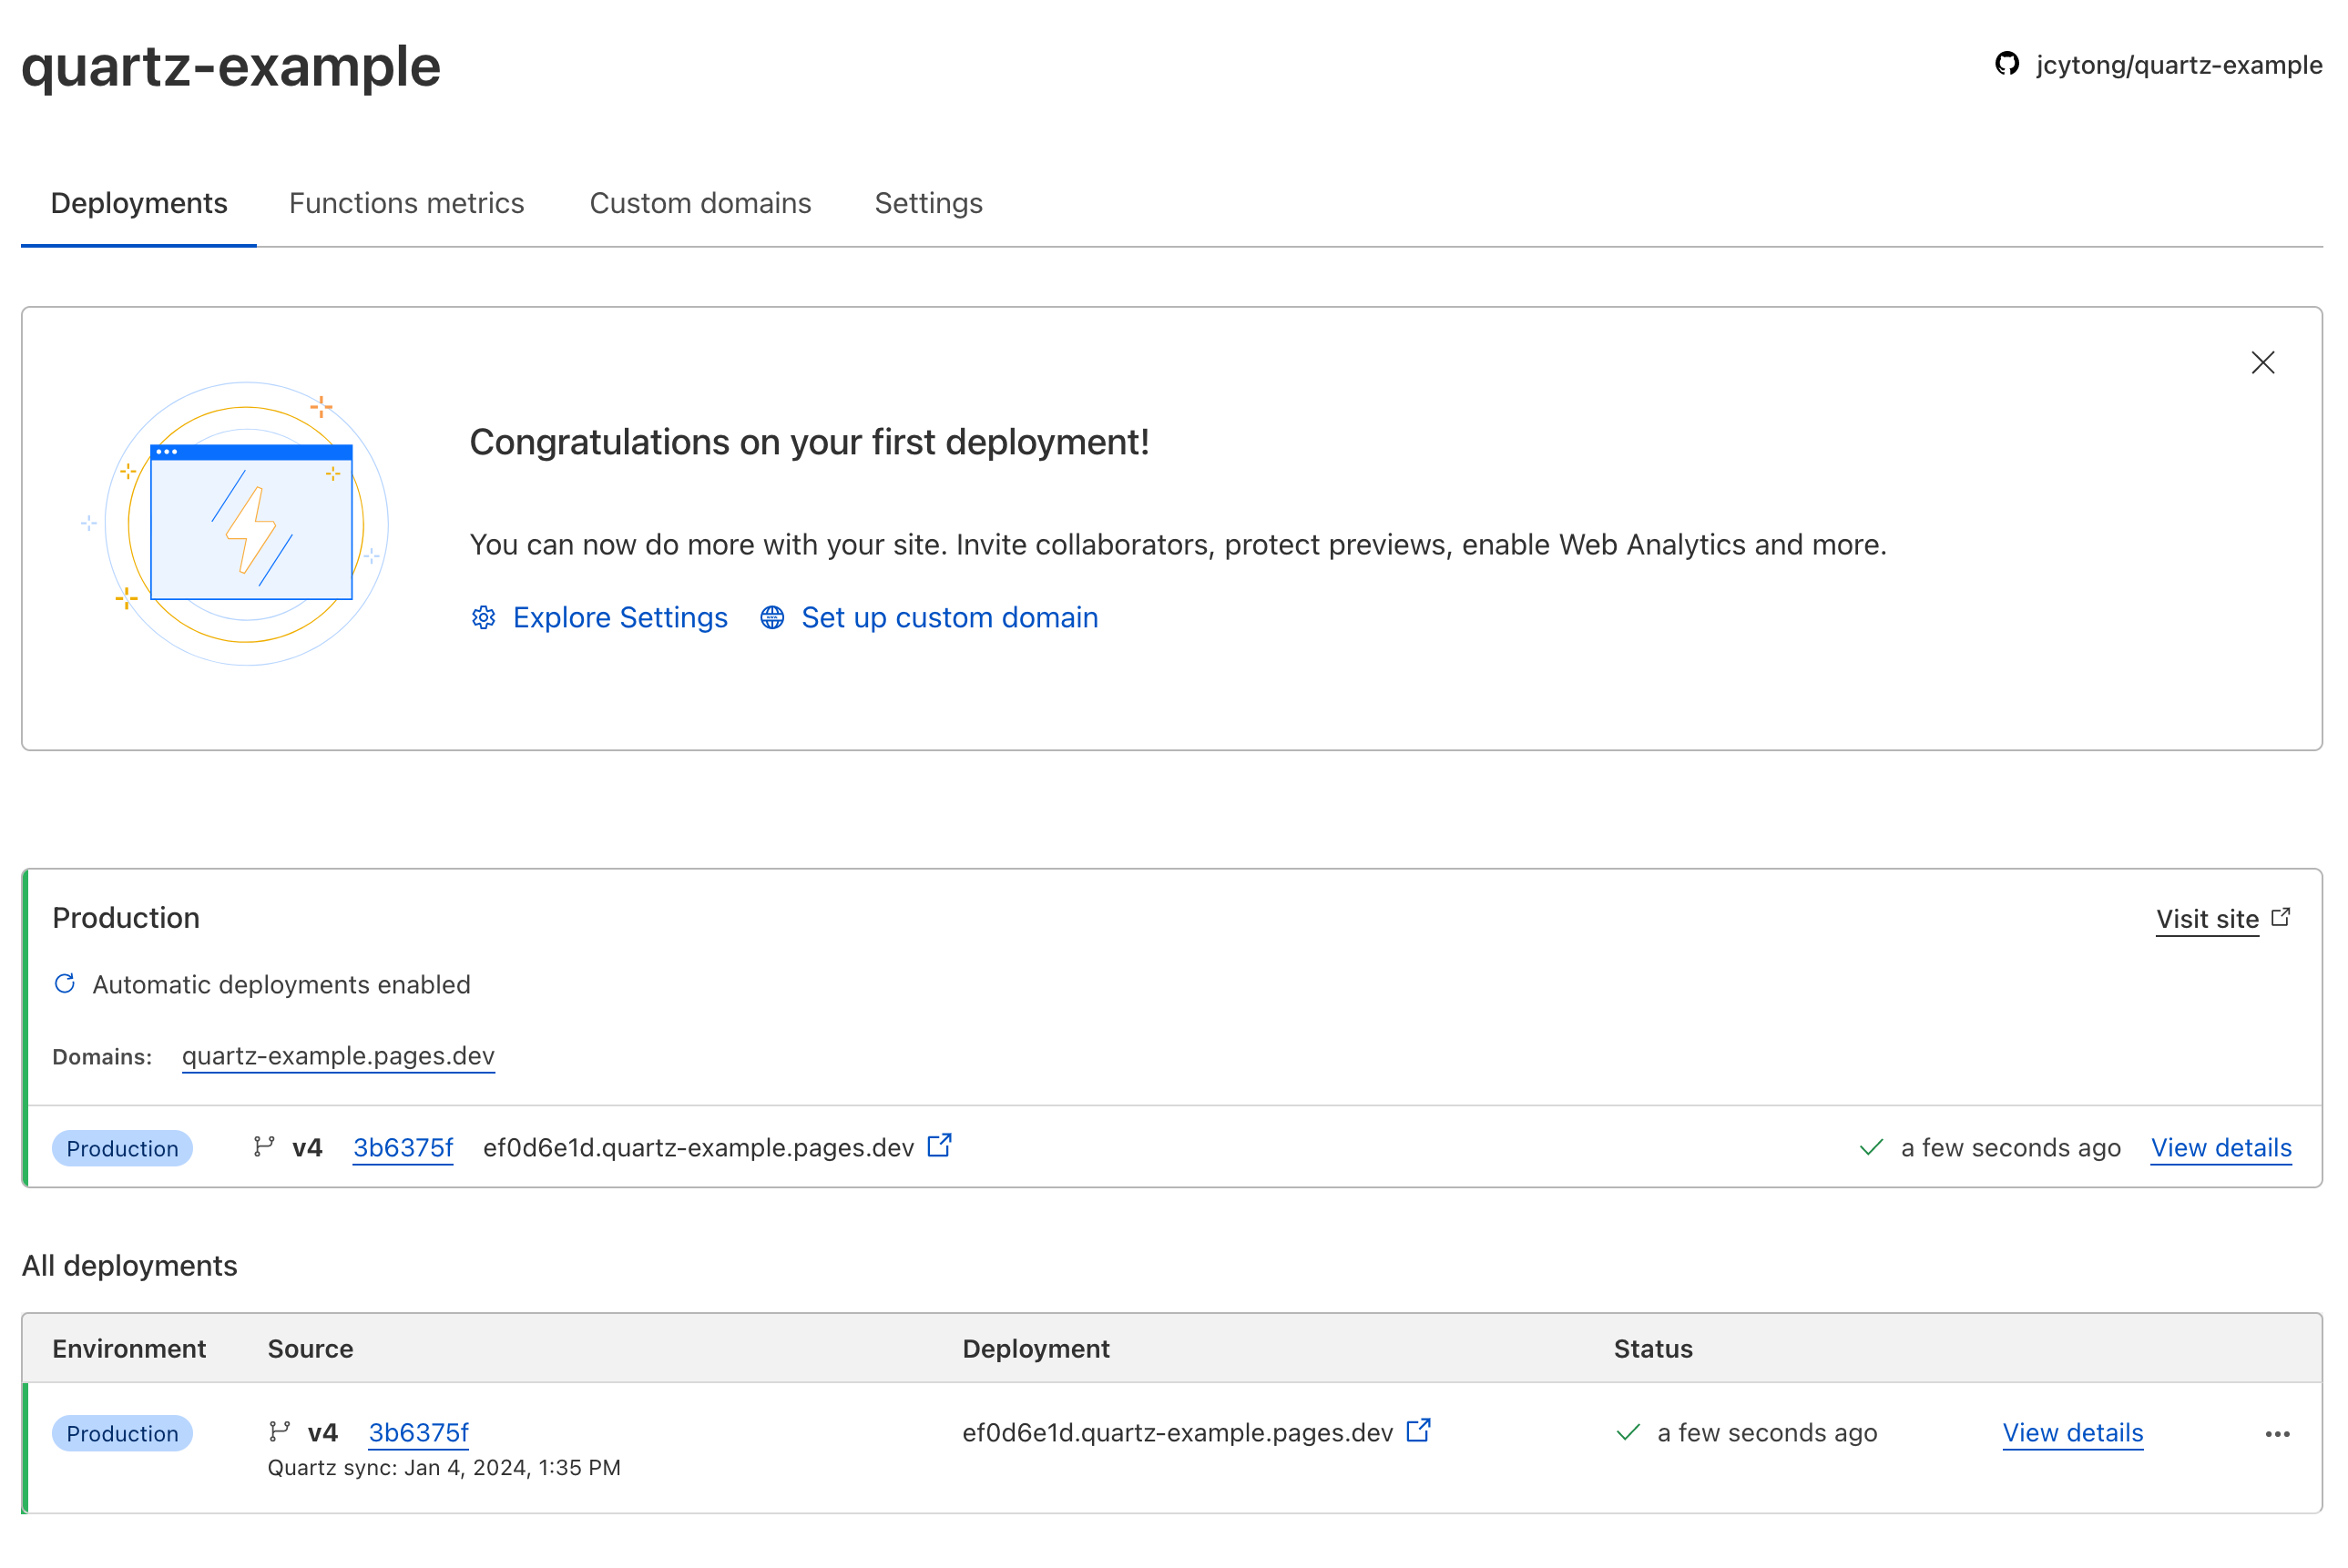
Automatic Deployment
By default Cloudflare Pages listens to updates to the repo, when there is a new update, it automatically deploys to production.
New entry to the site
We can simply create a new doc
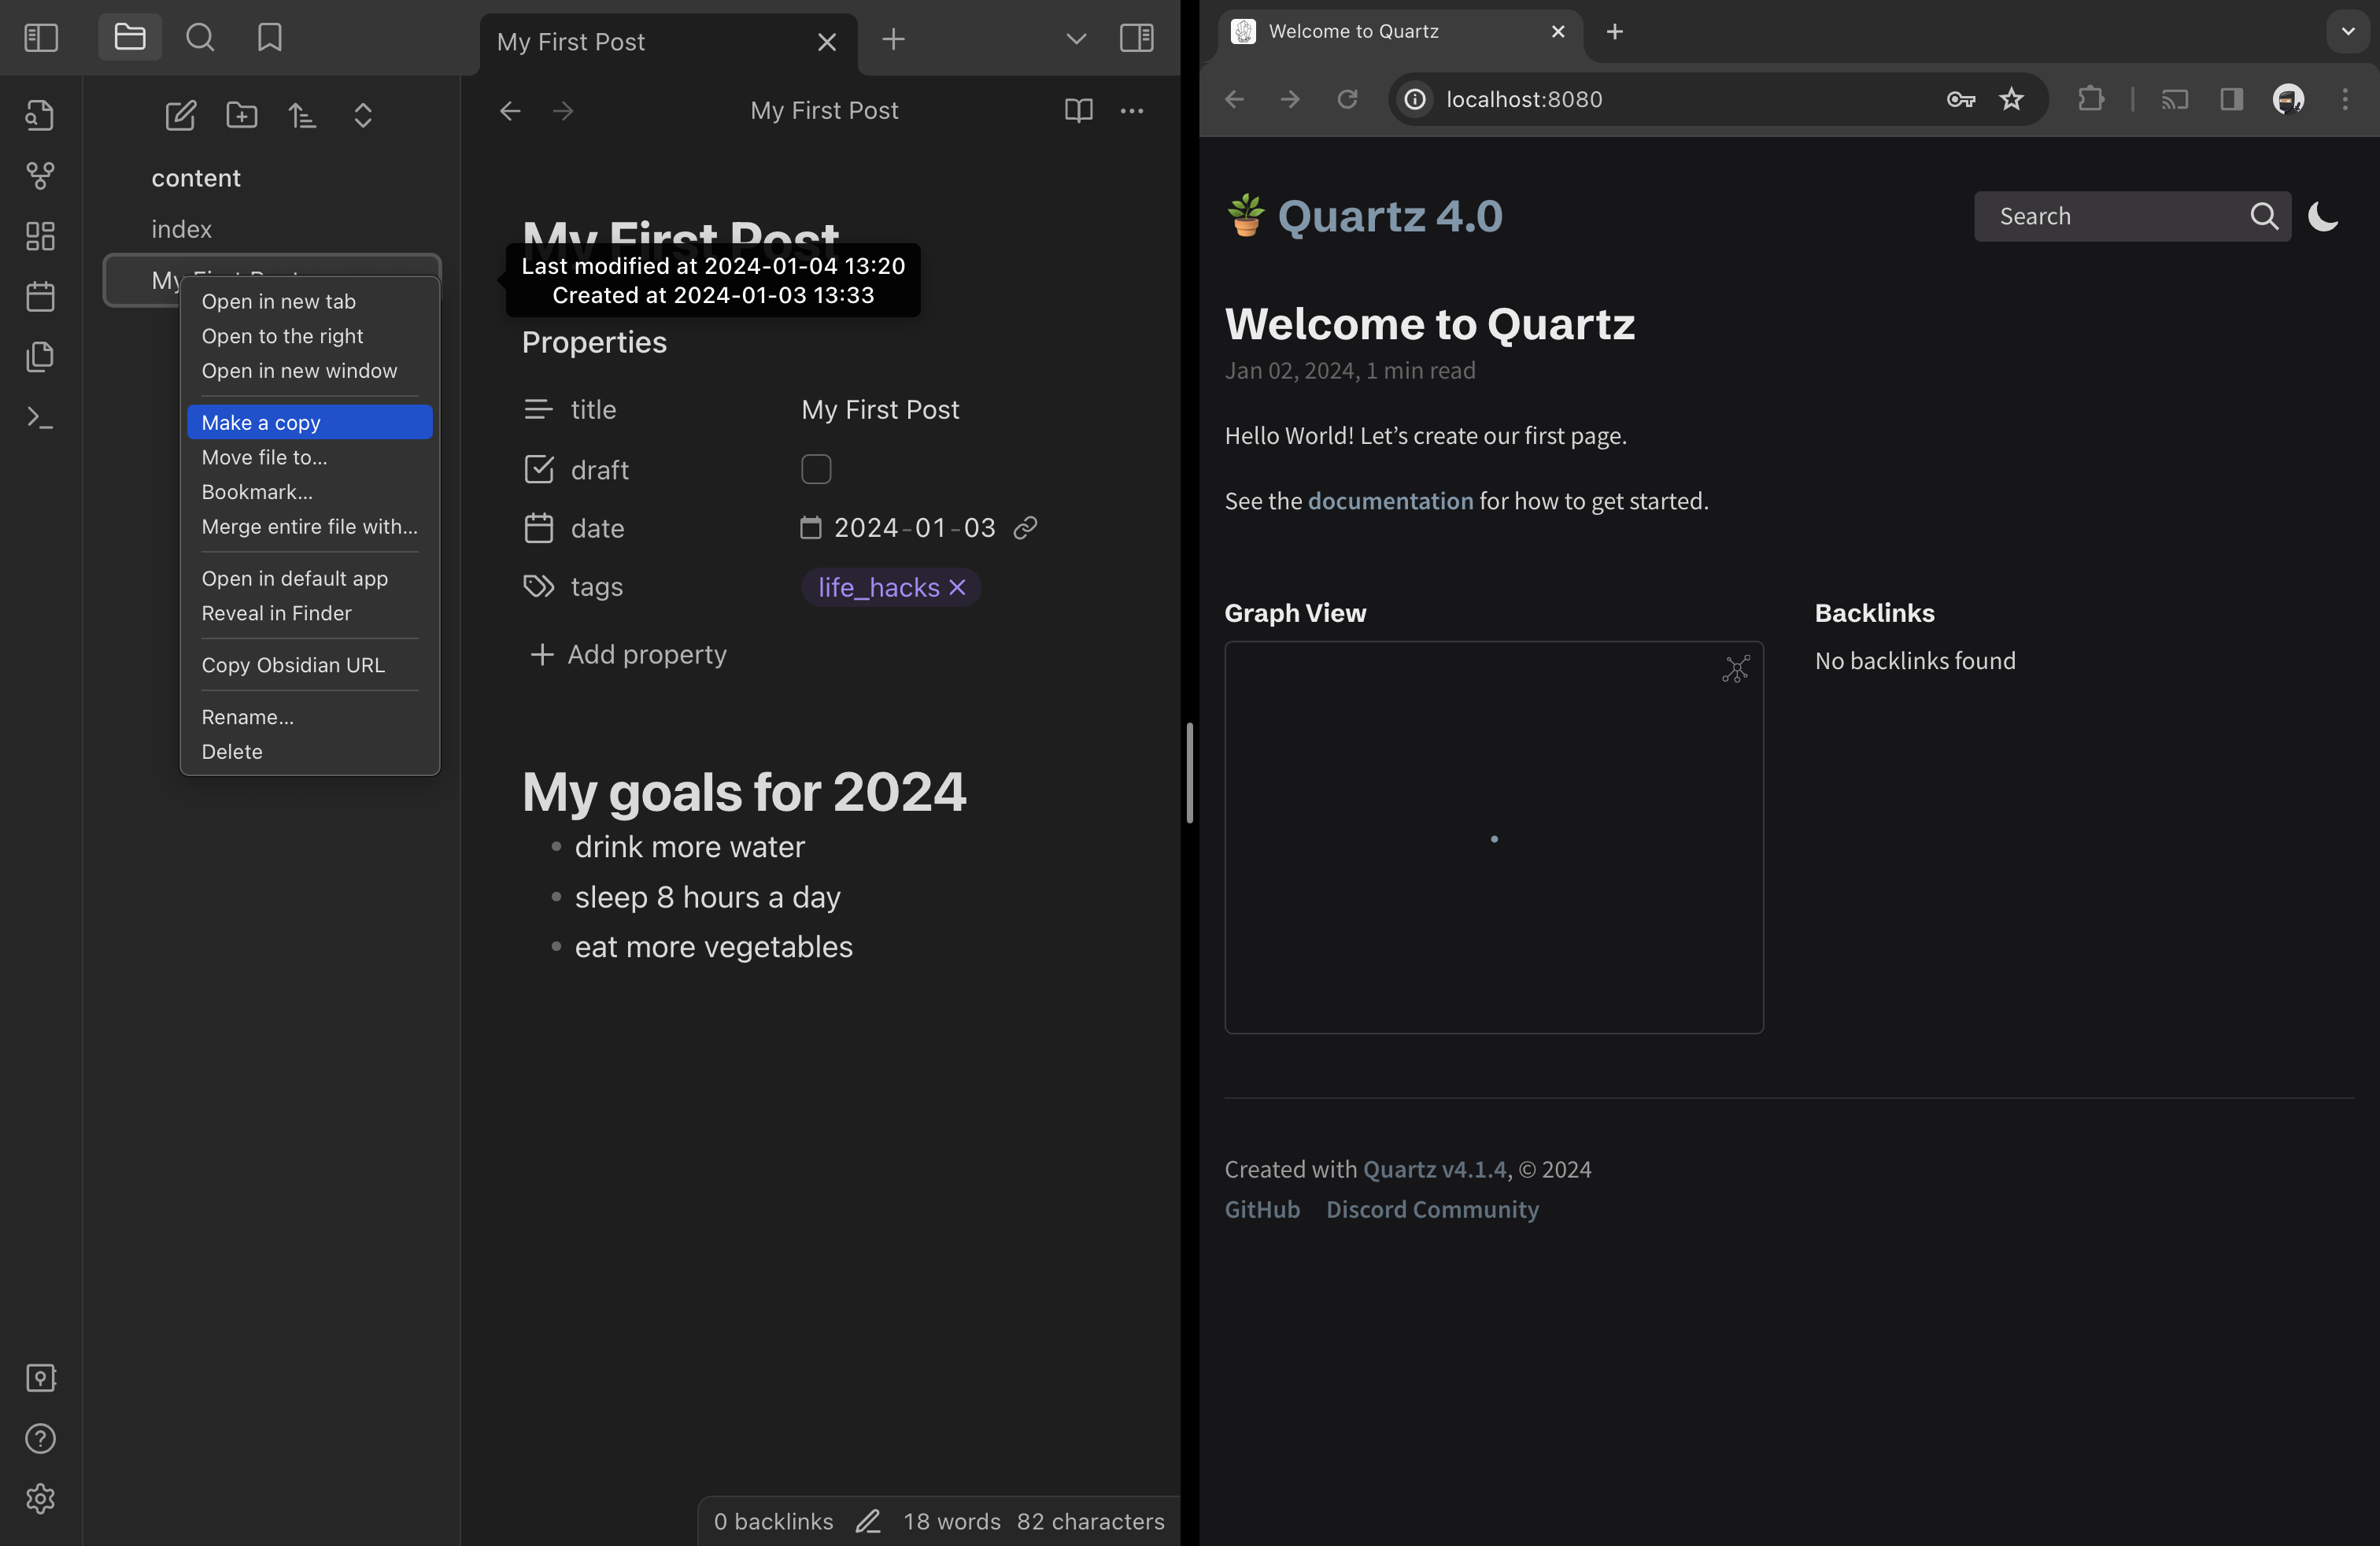
Add in some content for My Second Post
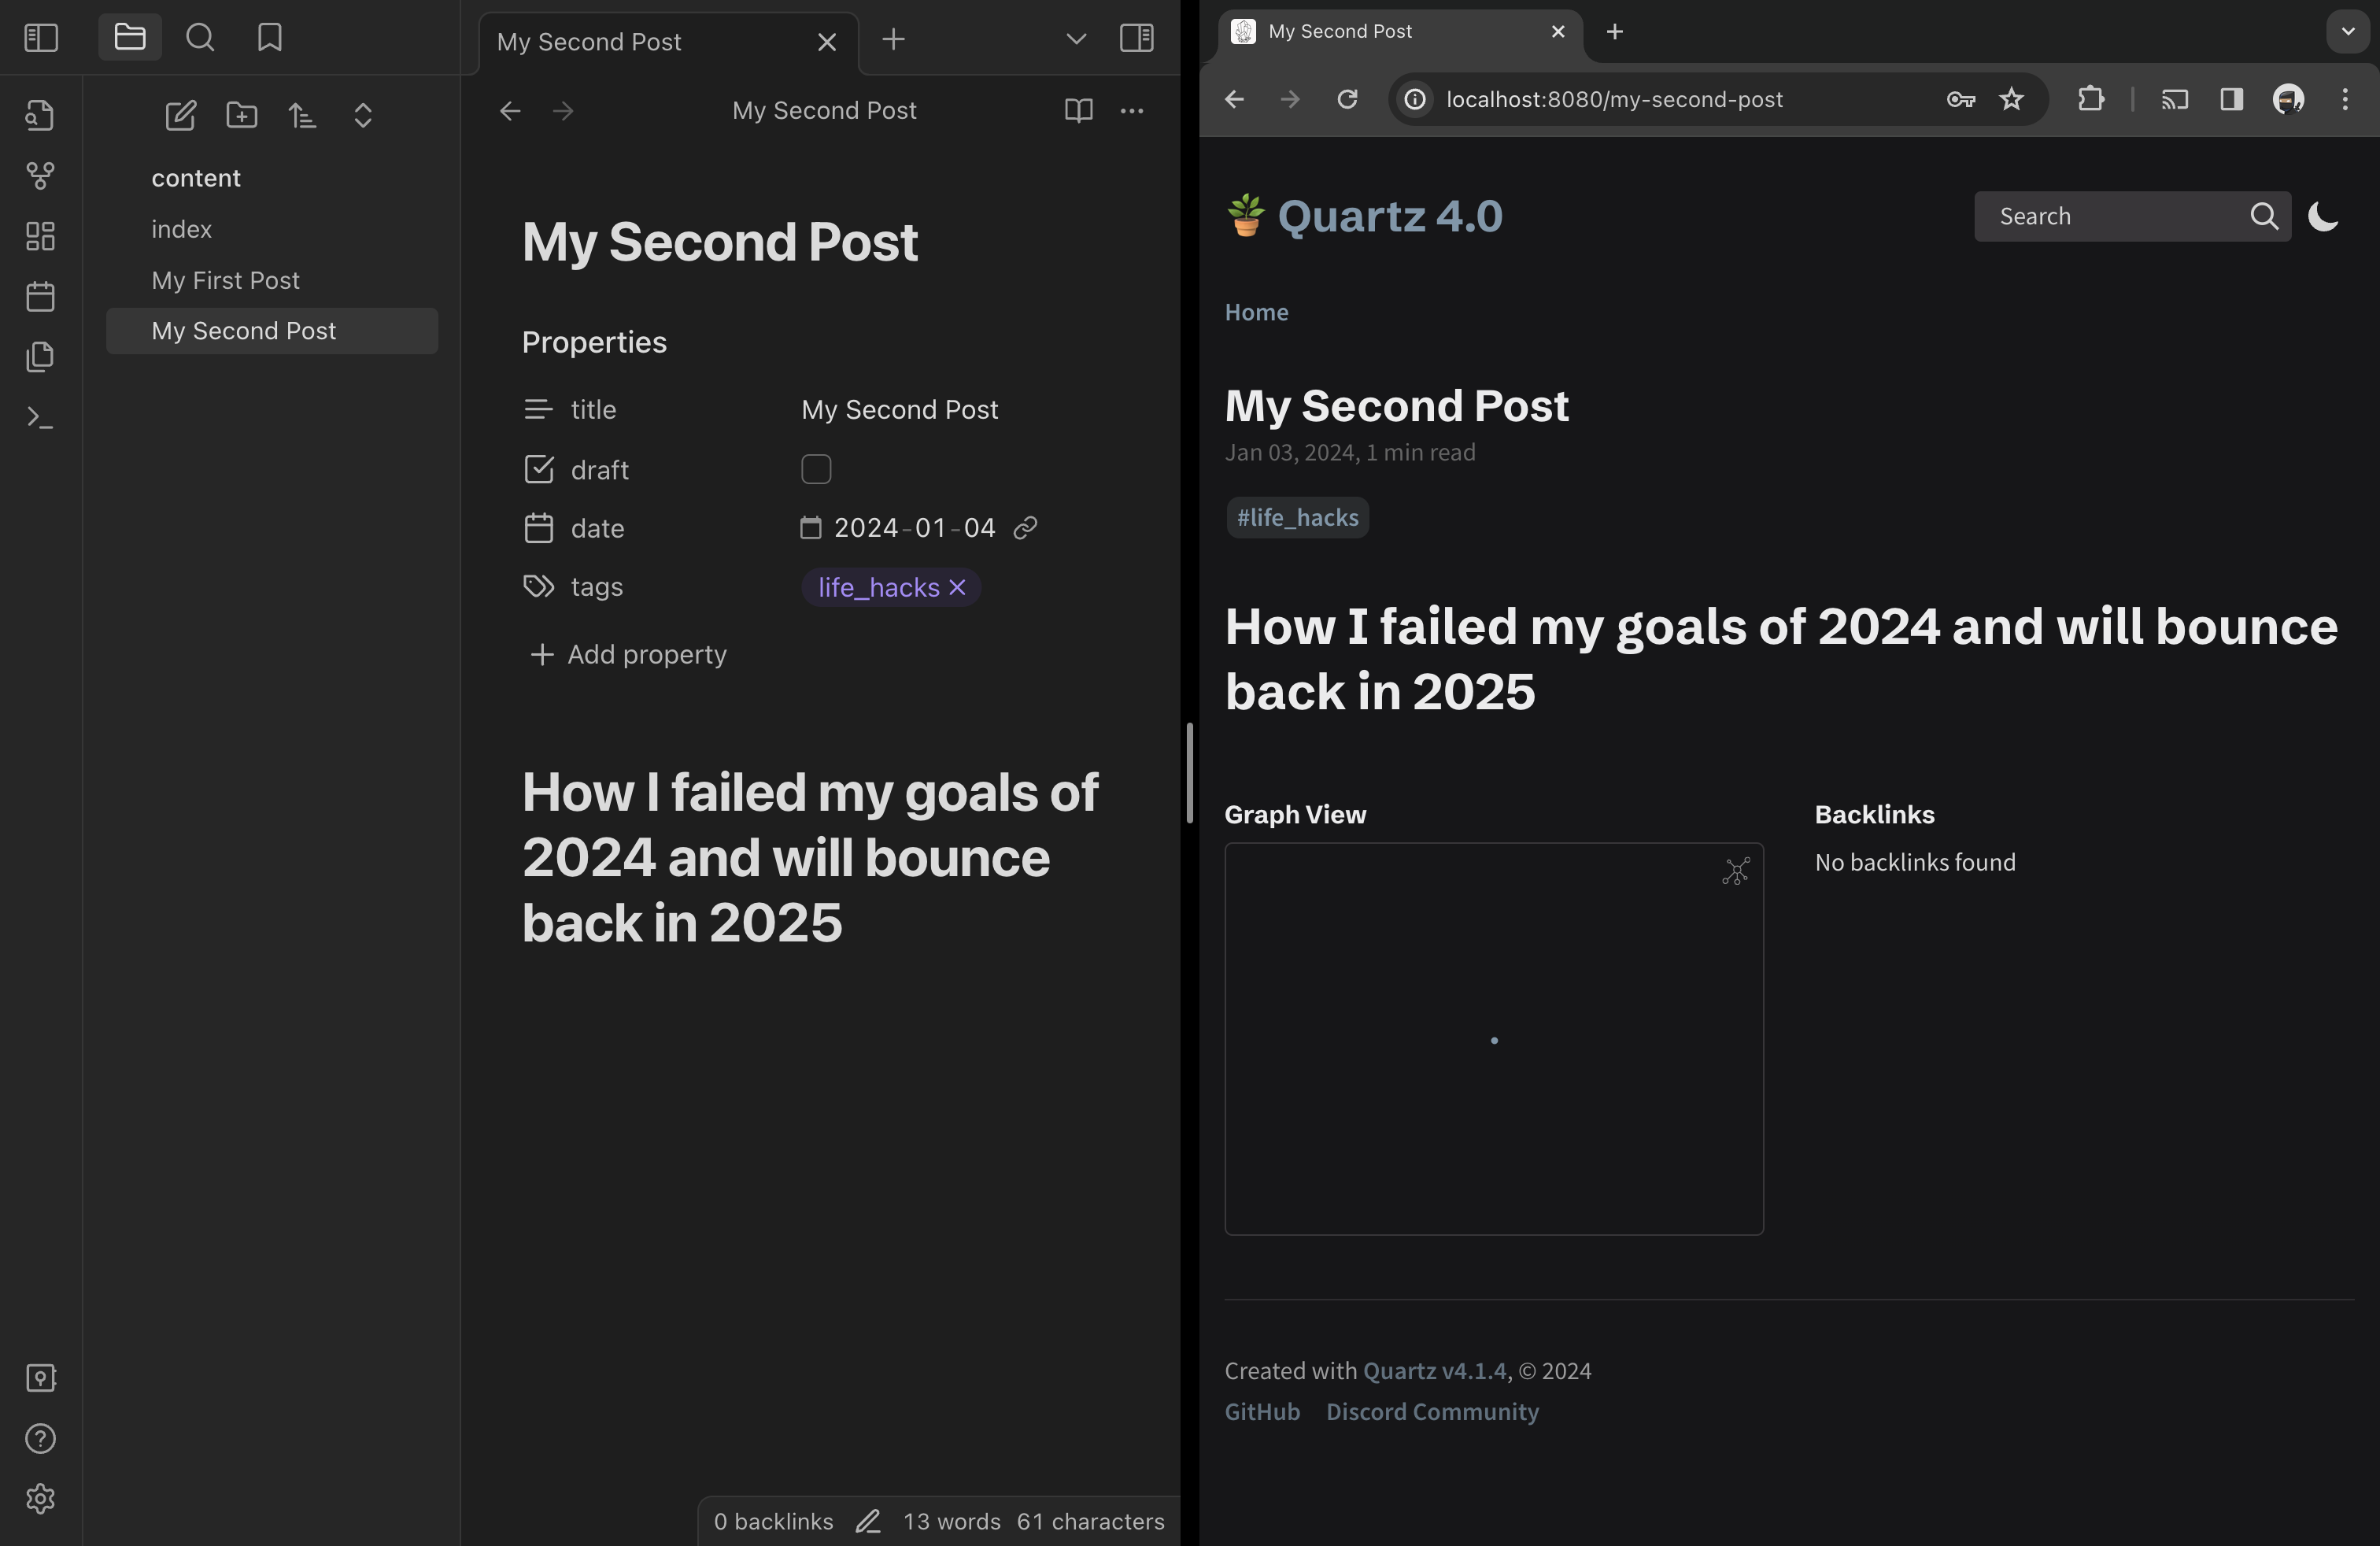
Making sure the draft property is unchecked
We sync by using the command
npx quartz syncThis commits to the GitHub repo and a build is kicked off on Cloudflare. Within seconds, the second post is live 🎉